Monday, July 29, 2019

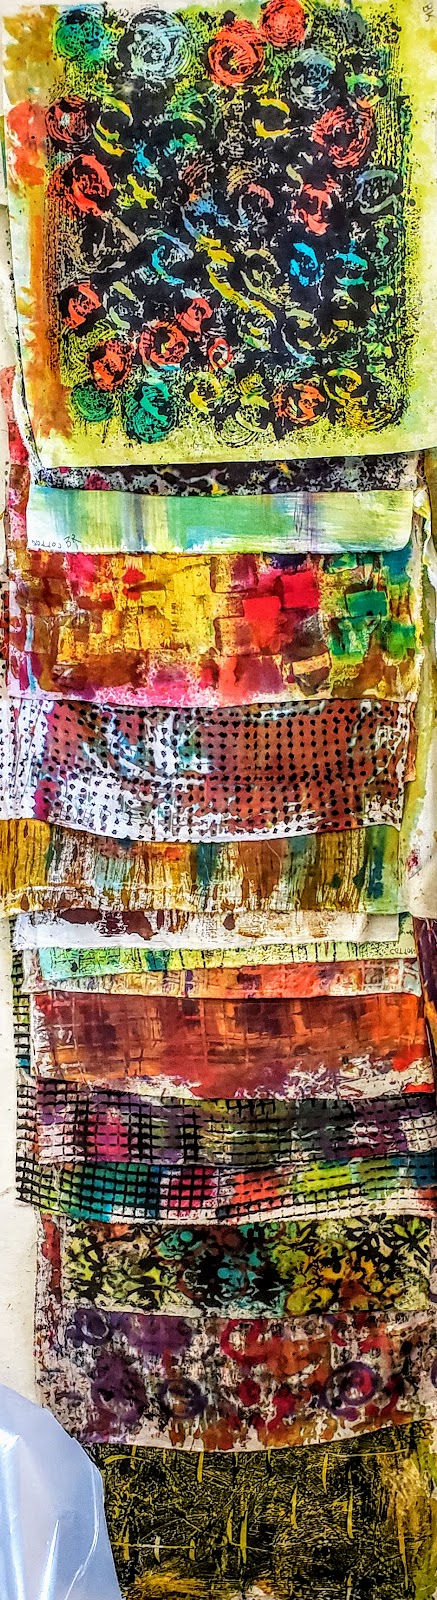
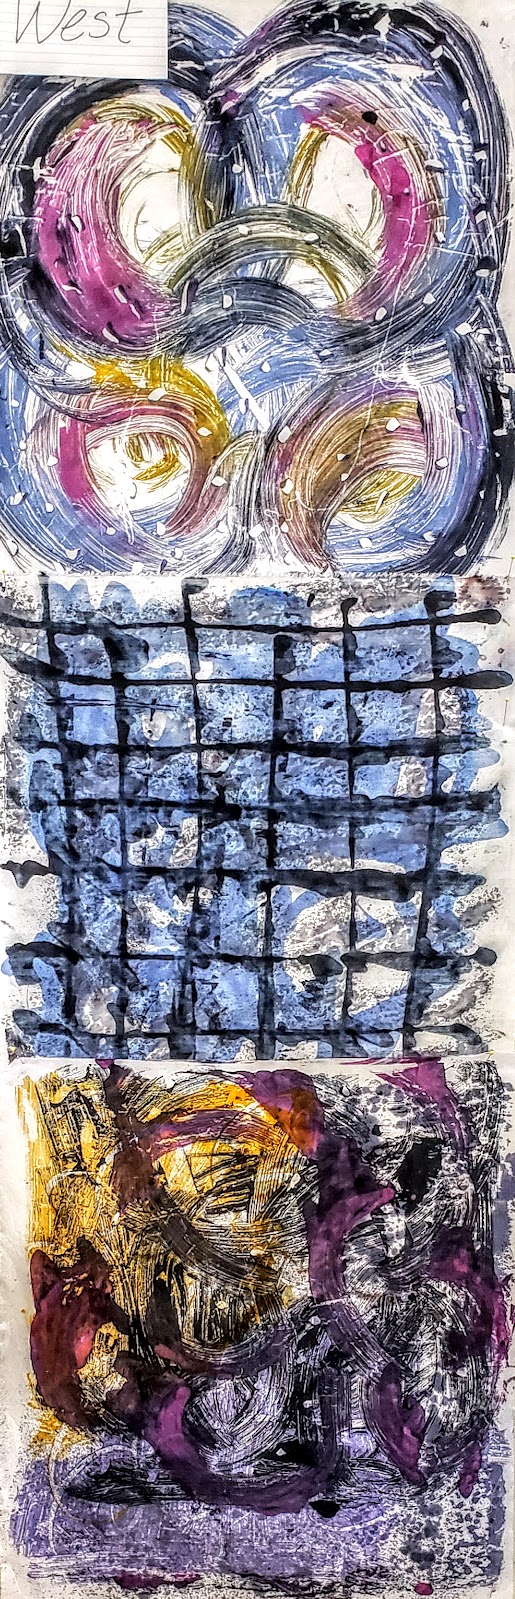
More dye painting from Sue Benner class 07-29-19

This will do it for the fabrics from Sue Benner's class.  I cannot give attribution on all of  them, sorry.  If anyone wants to let me know it is their work I will add their name.


I took my folding clothes rack and  used it to dry some of my pieces, but the wind was so strong I had to tie it to my car door handle to keep it from blowing away.  The white in the middle are the plastic sheets used to separate the layers of wet dyed pieces. 


James Prouten


This was done by applying thick dye to the fabric and then going over it with a tool that is made for furniture repairers to simulate wood grain.  Nifty little thing. 

 Deb Soren

 Sherrie Moomey

Mary Beth Anderson


James Prouten


Bambi Relie


Susan West

Sue Benner - A demonstration piece 44"L x 72"W

I am so impressed by this class and the great work done by students who mostly had little or no previous dye painting experience.  I do recommend it.  

#   #   #


Sunday, July 28, 2019

Mt Vernon, WA to Coupeville, WA 07-28-19

When KoKo and I arrived in Mt Vernon, WA, I stayed two nights and then I drove to Coupeville. leaving KoKo with friends Mabel and Mac.  He made himself right at home and took over the house.  


He loves the leather sofa in the family room.  

The drive to Coupeville is only about 39 miles, but with traffic and construction it took me about an hour and a half,  The cabin I was renting was not available on Thursday night so I drove back to Mt Vernon for the night.  KoKo was glad to see me, but not over the moon and he slept at my feet rather than against my back.  Snooty.  The next morning I drove back to the class at Pacific Northwest Art School for the last day of Sue Benner's Expressive Dye Painting class.   Again it took me about an hour and thirty minutes including an 8 minute stop at Quiet Cove Drive where a car had gone off the road into the woods and a large tow truck was trying to get it back on the pavement, requiring one way guided traffic in each direction.  The northbound lane was backed up about two miles!!  Glad I was going south. 

Highway 20 goes over Deception Pass on a narrow and very old looking bridge between the mainland and Whidbey Island.   People park roadside at either end of the bridge and walk across so they can see the water, rocks, trees, etc., below.  It is a traditional thing to do.  Each time I have been across there has been at least one person walking, but not I.  

There are a number of lakes on the island and they seem very full and close to the road. 

Since it is summertime and this is a big tourist area there are lots of motor homes, trailers, boats on trailers, kayaks on cars, etc. 

The scenery is very lovely. 

 This sign is specifically for the Coupeville Inn, but it is right on the road near the waterfront and typical of the signage in the area. 

The old wooden buildings back up to the waterfront and are intended to be "rustic". 

A sort of boardwalk goes out to a building on the water housing cafĂ© and tourist shops.  To the right is a long pier with boats moored along it.  The tide had just turned when I took these pictures and the beach was covered with Penn Cove mussels. A dozen or so gulls were flying down, picking them up, and then dropping them from a height to break them open and they gobbled up the raw mussels. 

I, on the other hand, went to Christopher's restaurant up one block and dined on mussels cooked in a nice sauce.  The reception desk held these lovely sunflowers. 

Unfortunately, when I had eaten all 43 mussels the waitress whipped away the bowl of empty shells, so all I could photograph was the empty bowl and the bread and butter used to sop up the juice.  They were very tasty.  
I looked at the dessert menu again, everything sounded delicious, but all those mussels had prior occupancy!   

Another good place to eat, according to others in the class, is Toby's which backs up to the waterfront.  I didn't have a chance to try it, let me know if you do.  Maybe I'll have time next trip up to Coupeville.  


#   #   #


Saturday, July 27, 2019

No! I don't have a terrible cold!! 07-26-19

I have been snorted and coughing and blowing and dripping and...  all of that.  But I don't think it is a cold.   I think it is the pollen in the air.  It feels more like asthma than anything.  I have been doctoring with Robitussin DM, Mucinex, and Airborne.  Having a hard time keeping track of what to take, when.  Anyway, I did not miss any class time, except that I was a little dopey at times!  

The class is over and what a class it is.  If you are interested in painting with dyes in a free, unstructured, inventive design sort of way, this is a class you must take.  
"Expressive DyePainting" with Sue Benner
There is a LOT of information about safety using the chemicals and dyes, pages of "formulas" for mixing different colors and the opportunity to invent your own colors.  You can try different fabrics - cotton (in which I was particularly interested), silk, rayon, linen, bamboo, etc., or any combination of anything.  You are able to see the results other students get, even if you don't do the different fabrics yourself.   There are dozens and dozens of ideas for different tools to use, from those invented for the purpose and everything else one might find around.  Some work out, some don't, you get to see the results of what everyone in the class tries.   Some students worked practically from dawn to dusk and dyed a LOT of fabric.  Others, like I, were too tired by the end of the class time to work on into the evening.  Your choice.  

I have taken some great dyeing classes before, but this one is extra fun and more information than I can absorb in five days.  But I have the great handout and some notes and the fabrics that I dyed to encourage me to try this again.  I will post pictures of lots of different work, mostly without attribution, just so you can see the variety of work done.  Hope it inspires you to take the class.  I may do it again one day!

Black and white and every possible color. Pieces approx 22" X 22"

 Joy Siragusa also did some over dyeing and solid dyeing in plastic Ziplock bags.
Anke Wildman  squeezed out dye and applied some with a brush on the big tile table, laid the fabric over it, brayered it in, and came out with this gorgeous scarf -  the bottom picture is a detail.  Pre-hemmed scarf is 14"W X 72"L

Nita Wester did some fabulous pieces while she also served as an excellent class assistant.  22" squares

I did these three trees on the big tile board - 44"W x 72"L.  I had a hard time keeping an even flow when squeezing the dye out of a squeeze bottle and created some thick blobs.  This will take a lot more work, more dye, more definition.  

Squeezed, brushed, and maybe sprayed.  22" square  Maker unknown.

Bambi Relie on the right did this 44" X 72" piece on the big tile table.  One needs a lifting assistant for these large pieces - Karen Orewiler on the left. 

22" squares by Chris Berry


Close up of texture - maker unknown. 

 Many different application techniques - maker unknown. 

22" square - dripping, squeezing, brushing, dotting.  Maker unknown. 


We were each to do three piece of black and white, but I don't seem to have taken very many pictures of those.  Here is one that I particularly liked along with another piece by Chris Berry.   22" squares

#   #   #

Wednesday, July 24, 2019

Yes, I have a terrible cold. 07-24-19

I was hoping it was just allergies, but it is truly a cold with aching joints and a headache and all the rest of the stuff that comes with a cold.  I hope that others in the class don't catch it and go home sick.  They will hate me.   I did go to class today and it was a hard drag, but I learned a lot more about dye painting and techniques for "mark making".   Here are some pictures from today's class.  Sorry, no ID on anyone's work except mine.  There is nothing here I am proud of, but I did accomplish something.  Maybe overdyeing is in my future. 


From the top:  First piece - too detailed, 2nd piece - of course there would be trees, 3rd piece has way too much thickened dye which smeared all over, 4th piece was a clean off my palette, needs more over dyeing. 

Some students utilized their hot cars to "batch" the dye.  

This one was taped to the windshield! 


And there are clotheslines outside where the wind whips everything dry.


Three pieces of nice work from two different students.

This lady had some long pieces of cotton from trimming her fabric and came up with a great idea to use them.  


Sue Benner did a demo of how to do a 44" square piece with the help of an assistant.
These four images are of a student doing this with her assistant. 
Apply the dye  to the palette using any technique one chooses. 

With the help of an assistant stretch the fabric as taunt as possible and lay it on the surface. 

 Then use a brayer or the back of a Styrofoam plate to smooth and transfer the dye. 

Then with the assistant on one end and the student on the other lift the fabric straight up to avoid smearing.  Then it must be laid out on plastic sheets to dry.  I hope to try this tomorrow. 

I'm taking my pills and cough syrup and going to bed. 

#   #   #